
Complete Sets
We tailor the roof duct to your roof type and diameter, ensuring you never miss an essential component during installation.
Have a pellet stove installed with the utmost care? Get a quote in 5 steps.
Have a pellet stove installed with the utmost care? Get a quote in 5 steps.
Have a pellet stove installed with the utmost care? Get a quote in 5 steps.

 Written by Dries Nijs4 min read
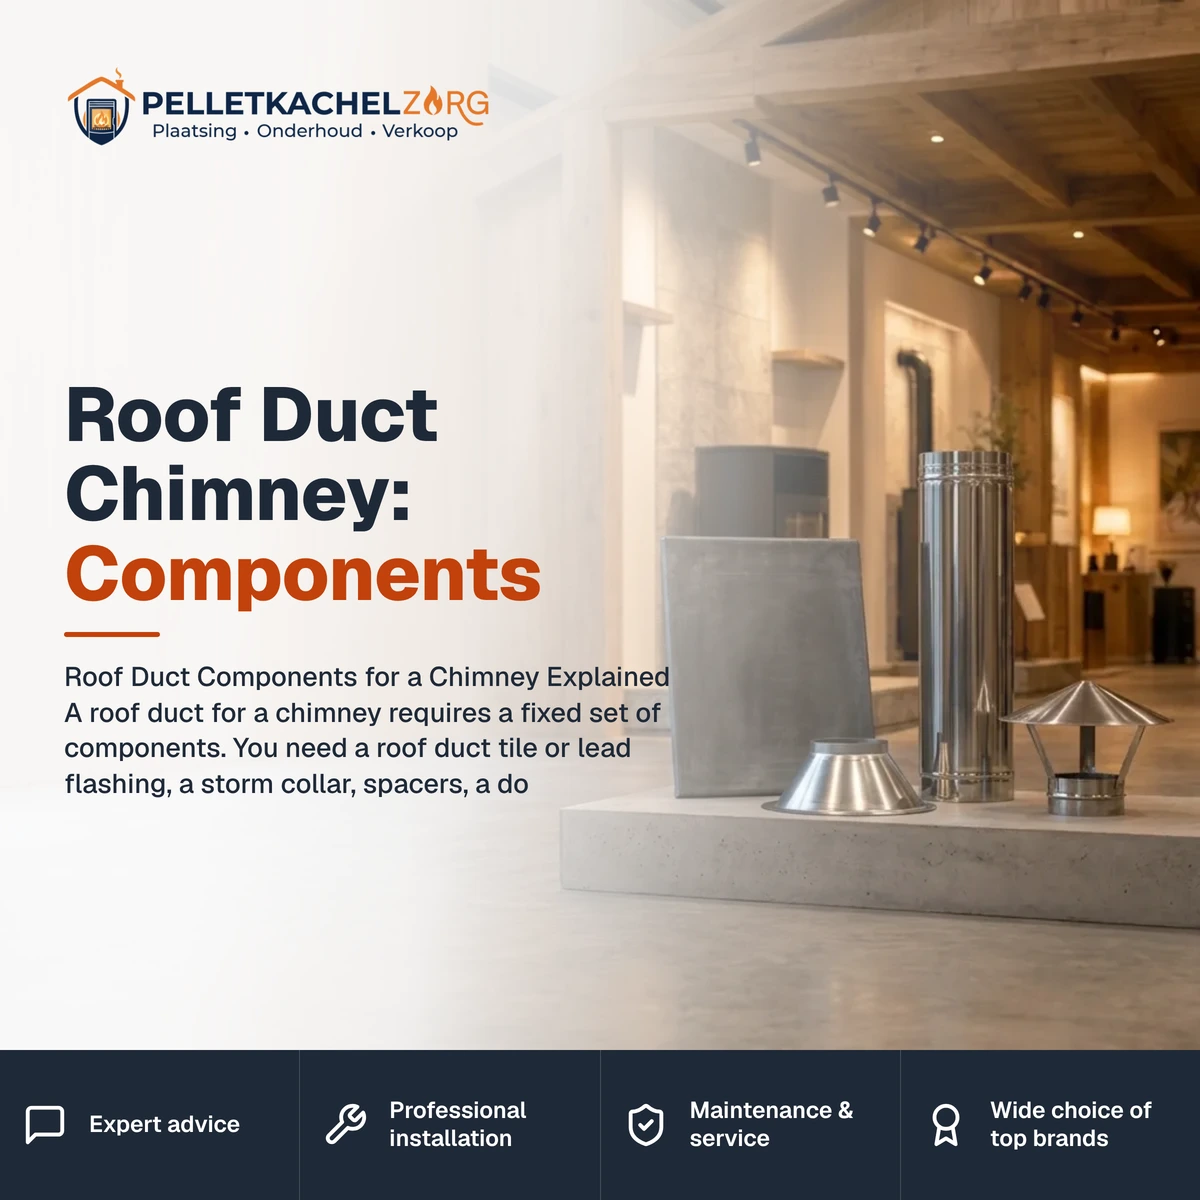
A roof duct for a chimney requires a fixed set of components. You need a roof duct tile or lead flashing, a storm collar, spacers, a double-walled element, and a chimney cap. For a wooden roof, a fire-resistant duct is also necessary.
The right set depends on whether you have a flat or sloped roof, so adjust your components accordingly.
The roof duct components you need form a fixed set: a roof duct tile or lead flashing, a storm collar, spacers or brackets, a double-walled element, and at the top, a chimney cap or draft-enhancing finish. For a wooden roof, a fire-resistant duct is included. The exact pieces needed depend on whether you have a flat or sloped roof. Below, you can read about each component's function and the difference between the two sets.
The roof type determines which pieces belong in your package. A sloped roof requires a tile or lead flashing that replaces the roof tiles, while a flat roof needs a flat, waterproof solution. The other components are used in both situations, although the method of attachment differs.
Rule of thumb: on a sloped roof, use a tile or lead flashing; on a flat roof, use an adhesive plate or flange.
Complete Sets
We tailor the roof duct to your roof type and diameter, ensuring you never miss an essential component during installation.
Fire-Safe Installation
For a wooden roof, we install a fire-resistant duct with the correct distances, protecting your roof structure from overheating.
Tailored Advice
You receive clear advice on height and outlet, ensuring your chimney meets municipal and insurance requirements.
Double-walled element: the insulated pipe that safely channels smoke gases upwards and keeps the outer wall cool.
Roof duct tile or lead flashing: seals the roof opening around the duct watertight.
Storm collar: seals the seam between the duct and the pipe, preventing water from running down the pipe inside.
Spacers or brackets: keep the duct straight and stable, maintaining the distance from the structure.
Fire-resistant duct: mandatory for wooden or combustible roofs, as it maintains a safe distance from flammable materials.
Chimney cap or draft-enhancing finish: protects the outlet from weather and promotes draft.
Double-walled element in the correct diameter and length
Matching roof duct tile for a sloped roof or an adhesive plate for a flat roof
Storm collar present
Brackets and spacers for stability
Fire-resistant duct for a wooden roof
Chimney cap or finish at the top
Sufficient height above the roof surface or ridge
Review this checklist carefully before you start. A missing piece is often only noticed on the roof, halting work. Preparing the complete set and checking the diameter in advance ensures faster and safer work.
A roof duct only functions properly if the set is complete. Without the storm collar, water can seep down the pipe inside. Without a fire-resistant duct on a wooden roof, there's a real fire risk. And without the right brackets, the duct may sag or tilt over time. Each component has its role, forming a cohesive whole.
The diameter is the starting point of your set. All components, from the double-walled element to the tile and chimney cap, must match that size. Never mix parts from different systems or brands, as the connections won't be gas-tight.
The double-walled element is intentionally insulated. This insulation keeps the smoke gases warm for good draft and keeps the outer wall cool at the duct. This way, the distance to flammable materials remains safe, and the chance of condensation in the duct is minimized.
If you want a complete overview of all parts between the stove and the roof, our explanation on which components you need for a chimney will help. For the approach with a flat roof, read how to install a chimney through a flat roof.
The height of the outlet and the fire-safe duct are not optional extras but fixed requirements. The outlet must be high enough above the roof surface or ridge for good draft and safe exhaust of smoke gases. For a combustible roof, a fire-resistant duct is needed to maintain the distance from the wood.
A too low or incorrectly placed outlet results in poor draft and smoke nuisance. Smoke can back up or cause problems near roof windows and neighbors. Correct height usually solves this and is part of the basic components of your roof duct.
The specific requirements vary by region and municipality in Belgium and by municipality in the Netherlands. Always follow your appliance's manual and local regulations as binding sources, and coordinate with your insurer if necessary. For a sloped roof, find the procedure in our guide on installing a chimney through a sloped roof.
If you're unsure about the setup or sealing, our article roof duct for a chimney, here's how it works provides more background. If you prefer to have the duct installed, see how we approach installing a chimney through the roof.
Want to ensure your roof duct is complete and fire-safe? Request a quote or advice and we'll assemble the right set for your roof type.
We are happy to help. Contact us without obligation.
A roof duct set includes a roof duct tile or adhesive plate, a storm collar, spacers or brackets, a double-walled element, and a chimney cap or finish at the top. For a wooden roof, a fire-resistant duct is also included. The exact contents depend on your roof type and diameter.
A roof duct tile replaces a roof tile and seals around the duct on a sloped roof. Lead flashing is a flexible lead piece pressed around the duct for a watertight seal. On a flat roof, you typically use an adhesive plate or flat roof duct instead of a tile.
Yes, for a wooden or combustible roof, a fire-resistant duct is necessary. This component maintains the required distance from flammable materials and prevents overheating of the structure. For a concrete or stone roof, the setup can be simpler, but maintaining a safe distance remains important.
The outlet must be high enough above the roof surface or ridge for good draft and safe exhaust. The correct height depends on the roof type, pitch, and surroundings. Always follow your appliance's manual and local regulations as binding sources.