
Certified materials
We work with double-wall flues and flashings that comply with all safety standards. This ensures your flat roof flashing is safe and watertight.
Have a pellet stove installed with the utmost care? Get a quote in 5 steps.
Have a pellet stove installed with the utmost care? Get a quote in 5 steps.
Have a pellet stove installed with the utmost care? Get a quote in 5 steps.

 Written by Dries Nijs4 min read
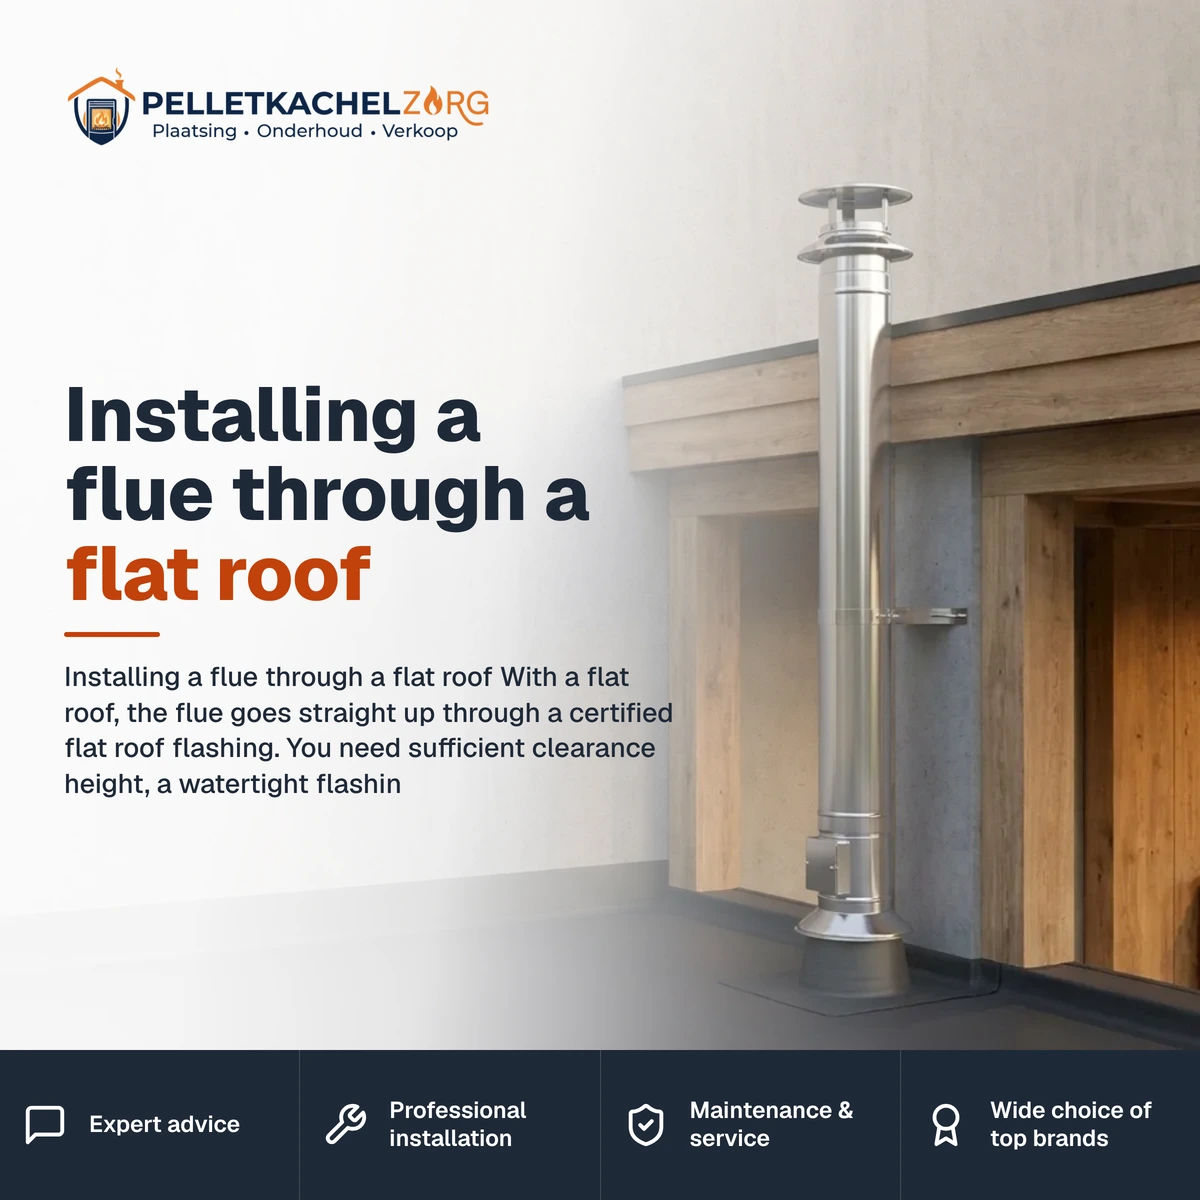
With a flat roof, the flue goes straight up through a certified flat roof flashing. You need sufficient clearance height, a watertight flashing with a storm collar, and a double-wall insulated flue above the roof.
Straight, high, and watertight are the three keys to a good flat roof flashing.
Installing a flue through a flat roof involves routing the pipe straight up through a certified flat roof flashing, with a watertight finish and sufficient height above the roof surface. As soon as the flue exits through the roof, it must be double-walled and insulated.
The terminal often protrudes at least around 50 cm above the roof, and above nearby obstacles. Always check the applicable standards and your appliance's manual. This ensures the draft, waterproofing, and fire safety are all in order.
A flat roof offers an advantage here, as you can usually run the flue perfectly straight. This minimizes the number of bends and keeps resistance low. However, the watertight flashing requires extra care, precisely because rainwater can pool on a flat surface.
Rule of thumb: the straighter and higher the terminal is positioned, the better the draft and the lower the risk of downdrafts.
Certified materials
We work with double-wall flues and flashings that comply with all safety standards. This ensures your flat roof flashing is safe and watertight.
Correct terminal height
We determine the correct height above your roof and the adjacent obstacles. This ensures a stable draft and reduces the chance of downdrafts.
Expert advice
If you have any doubts about standards or finishing, we will review your situation. You will receive clear, professional advice for your flat roof.
Complete the installation step by step and check each phase before moving on. This sequence ensures optimal draft, waterproofing, and safety.
Determine the route directly above the stove. Keep it as short and straight as possible, because every bend reduces the draft.
Choose a double-walled insulated flue pipe with the correct diameter according to your appliance's manual.
Create the roof opening and install the certified flat roof flashing, neatly waterproofed with a flashing plate or collar.
Finish the roof penetration with a storm collar above the flashing, preventing rainwater from running down the pipe.
Extend the flue to the required termination height and fit a suitable rain cap or draft cowl.
Check the locking bands, the stability and the distance to combustible materials for flue pipes, and then test the draft.
Required termination height achieved above the roof surface and nearby obstacles
Certified flat roof flashing that matches your type of flue
Waterproof flashing plate or EPDM collar with storm collar installed
Double-walled insulated flue pipe above the roof
Sufficient distance from skylights, roof domes, and the roof edge
Stable mounting to withstand wind and storms
The correct diameter is the foundation of proper operation. Always follow the diameter specified in your stove's manual and do not reduce it. A flue that is too narrow restricts the flue gases and weakens the draft, especially over a longer vertical length.
The draft is created by the difference in height and temperature within the flue. A straight vertical route through a flat roof facilitates this process. Therefore, keep the termination free from high walls, domes, and roof extensions within a few meters.
Waterproofing is the most sensitive point on a flat roof, as water tends to pool on a flat surface. A proper flashing plate or collar with a storm collar keeps everything watertight. In our guide on roof penetration for a flue pipe, you can read how these components work together.
The insulation of a double-walled pipe keeps the flue gases warm, which improves the draft and limits condensation. Above the roof, double-walled pipes are therefore the standard. If you are debating between the roof and the facade, compare the options in flue pipe through the roof or through the wall.
Wind and surroundings play a major role with a flat roof. A termination that sits too low behind a wall ends up in a zone of high and low pressure. This disrupts the draft and can push smoke back down. An anti-downdraft cowl limits this effect.
Keep the termination at a sufficient distance from roof edges, skylights, domes, and air inlets. Flue gases that exit too close to a window or ventilation opening can be drawn back indoors. A clear position on the roof prevents nuisance and odor complaints.
If there is a taller building, a roof extension, or a parapet nearby, you should raise the termination accordingly. The flue gases must exit above the pressure disturbance zone. This ensures the draft remains stable, even with shifting winds.
The exact rules vary by country and even by municipality. In Belgium, the NBN standards serve as the practical framework for smoke extraction, and your region or municipality may impose additional conditions. In the Netherlands, national building regulations and the municipality determine the requirements together.
For a pellet stove or wood stove, it is also essential that the flue pipe, the roof penetration, and the termination are compatible. You should never mix a certified system from one brand with loose parts from another. This keeps the warranty and fire safety intact.
When in doubt, check with your municipality and insurer regarding the required termination height and distances for your situation. Also check out installing a flue through a pitched roof if your roof is partially sloped, and the common mistakes with flue pipes to prevent problems beforehand.
If you are unsure about the termination height, the roof penetration, or the draft, it is best to have the flue checked by a professional. Request a free quote or advice and install your flue through a flat roof safely and watertight.
We are happy to help. Contact us without obligation.
The terminal usually extends at least around 50 cm above the flat roof, and above any obstacles located within a few meters. The exact height depends on local building regulations and your specific situation. Check this with your local council and in the manual of your stove.
In many cases, you are allowed to do the installation yourself, but the flashing, waterproofing, and terminal height must be spot on. A mistake quickly leads to leaks or poor draft. If in doubt, it is best to leave the work or inspection to a professional.
You need a double-wall insulated flue, a certified flat roof flashing, a watertight aluminum or EPDM collar, a storm collar, and a matching rain or draft cowl. All parts must belong to the same type of flue system.
Yes, with a correctly installed collar or sleeve and a storm collar, the flashing remains perfectly watertight. The flat surface does require extra attention, as water can pool there. Therefore, have the finishing done carefully and according to the instructions.