
Professional Installation
We install your pellet stove according to the manual and applicable standards. You get a safe and efficient installation.
Have a pellet stove installed with the utmost care? Get a quote in 5 steps.
Have a pellet stove installed with the utmost care? Get a quote in 5 steps.
Have a pellet stove installed with the utmost care? Get a quote in 5 steps.

 Written by Dries Nijs3 min read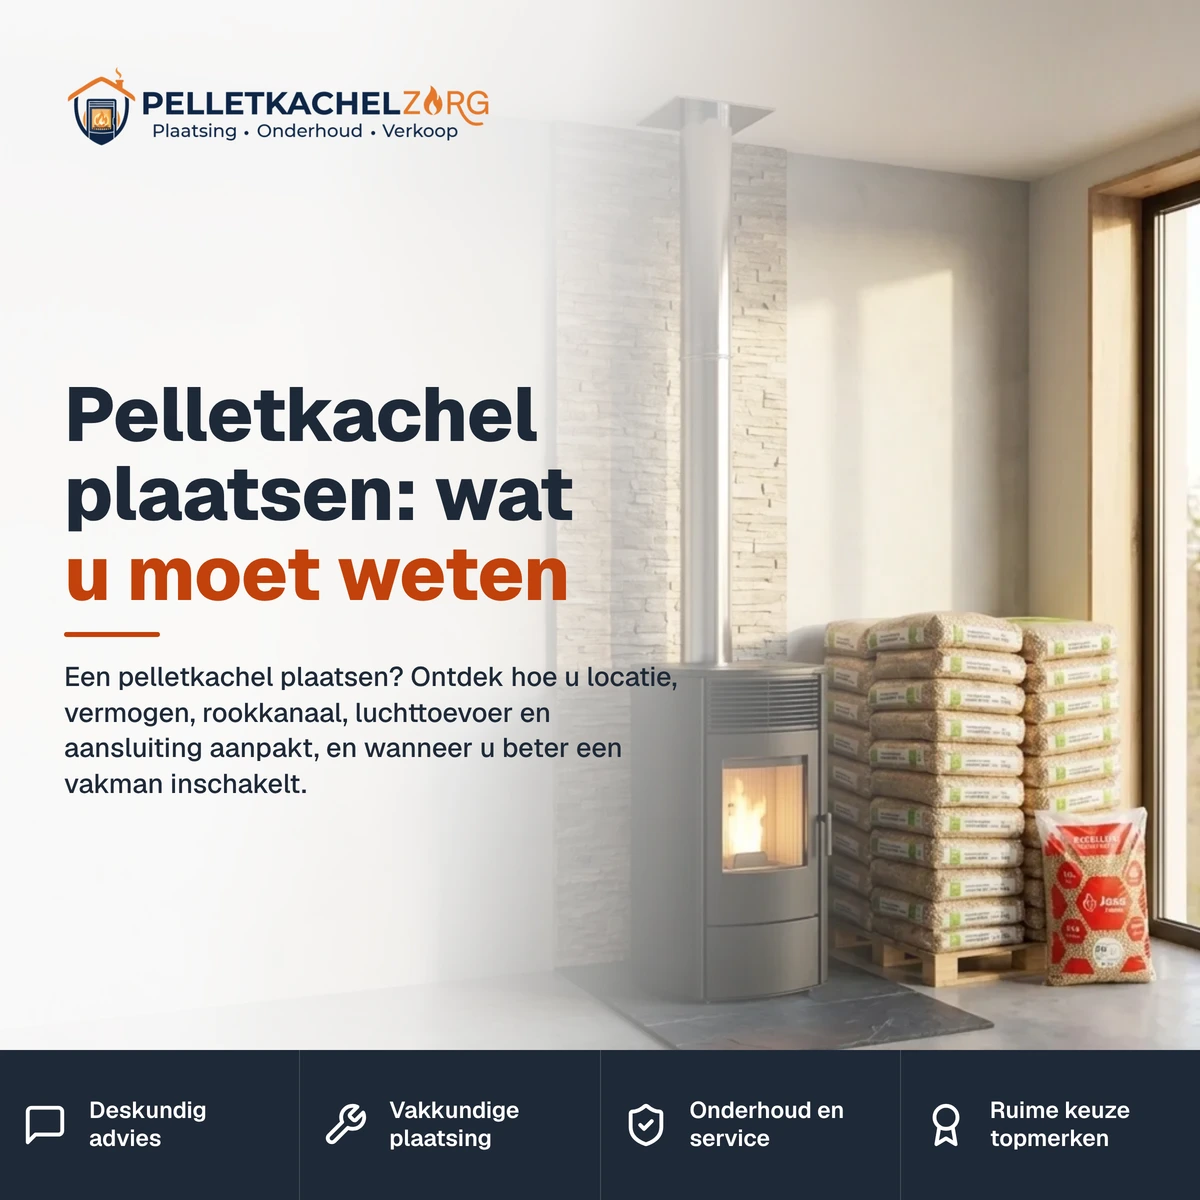
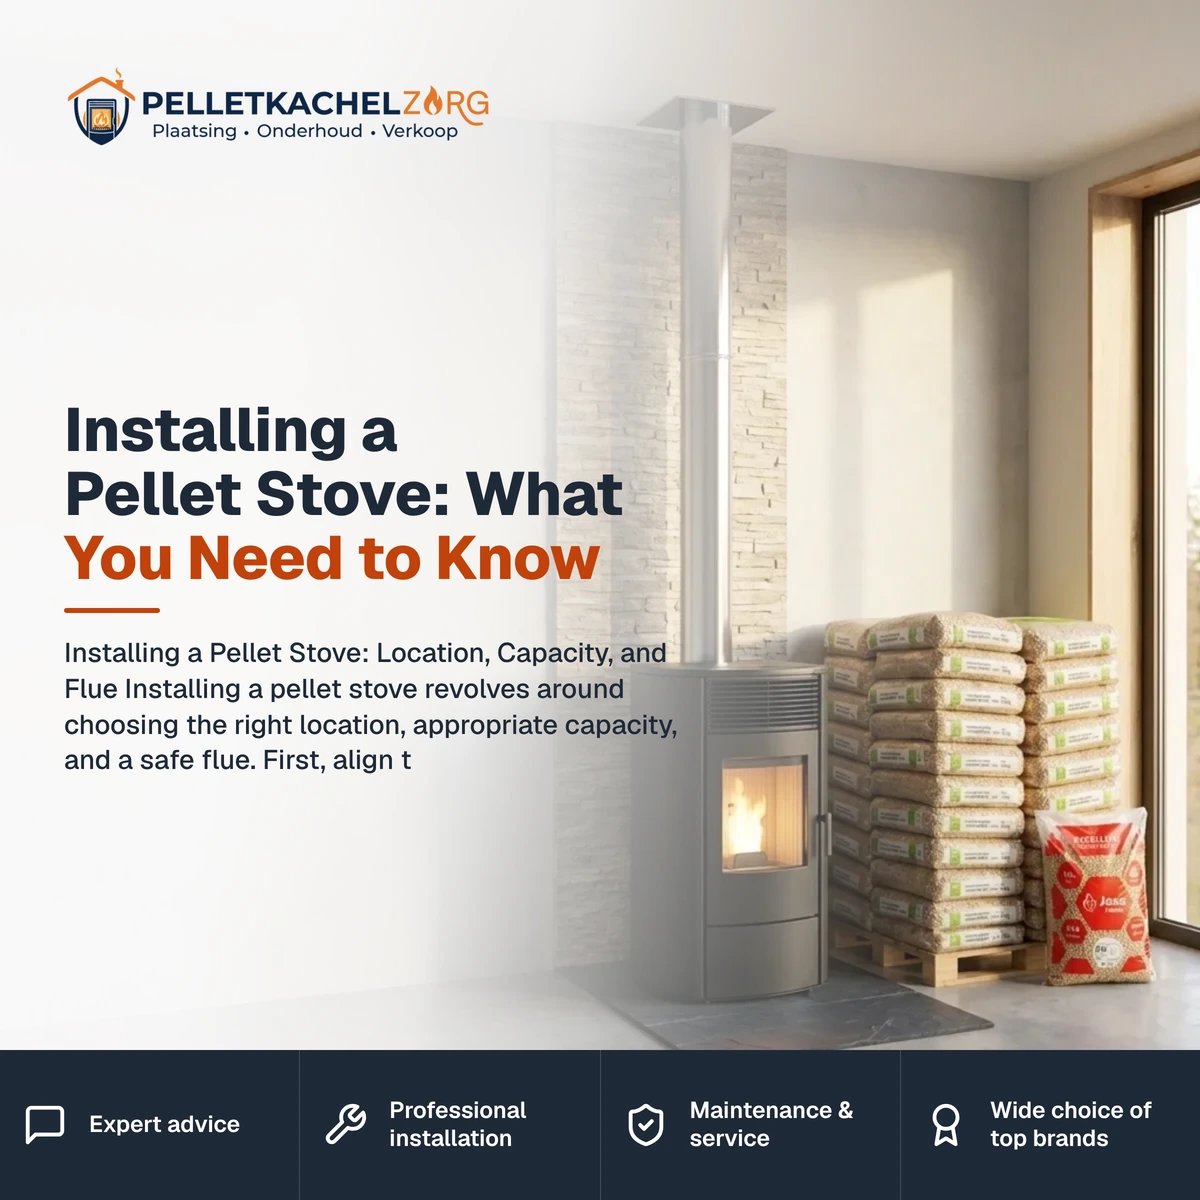
Installing a pellet stove revolves around choosing the right location, appropriate capacity, and a safe flue. First, align the location and flue, then address air supply, power, and distance from combustible materials.
Always follow the manufacturer's instructions and local regulations, as they are paramount.
Installing a pellet stove starts with three key decisions: selecting the right location, choosing a capacity that suits your home, and ensuring a safe flue. First, determine the location and flue, as these dictate feasibility. Next, consider air supply, electrical connections, and distance from combustible materials. This overview outlines the steps and considerations, with links to detailed articles for each aspect.
Whether you install it yourself or hire a professional depends on your experience, the flue, and your insurer's requirements. Positioning the stove is often manageable, but the flue requires precision. Weigh the pros and cons before starting.
If unsure about the draft, diameter, or passage, have a professional calculate or inspect the flue.
Professional Installation
We install your pellet stove according to the manual and applicable standards. You get a safe and efficient installation.
Custom Flue Design
We calculate diameter, draft, and passage for your home. This ensures safe exhaust of flue gases, through the roof or along the wall.
Inspection and Certification
After installation, we check operation and draft. You receive a certificate useful for your insurer.
Choose the location based on heat distribution, space around the stove, and a feasible path for the flue. A centrally placed stove usually distributes heat best.
Match the capacity to the area, insulation, and number of rooms you want to heat. An oversized unit often runs at low settings and pollutes faster.
Determine the flue path, through the roof or along the wall, with as few bends as possible. Each bend and horizontal meter reduces draft.
Select a double-walled flue with the diameter specified on the stove's nameplate. Double-walled keeps flue gases warm and limits condensation.
Provide an air supply, often directly from outside in well-insulated homes. A stable supply keeps combustion clean.
Install an accessible power outlet, as a pellet stove needs electricity for electronics, the auger, and the fan.
Maintain distance from combustible materials and use a heat-resistant plate behind or under the stove if necessary.
Test the operation, check the draft, and have the installation inspected if in doubt before use.
Is there a feasible path for the flue to the roof or wall?
Does the capacity match the area and insulation of the home?
Is there a power outlet near the chosen location?
Does the distance to furniture, walls, and floor meet regulations?
Do you know the rules of your municipality, region, and insurer?
Do you have the manufacturer's manual on hand?
Location and capacity are closely linked, as an oversized stove in a small space often runs at low settings and pollutes faster. First, check which pellet stove suits your home and how to calculate your pellet stove's capacity. This way, you choose a unit that operates comfortably and efficiently.
The flue is the most technical part of the installation. Sometimes you can use an existing chimney, provided it is suitable and safe. Learn how to connect a pellet stove to an existing chimney and when a stainless steel lining is necessary. For a new path, choose between a roof or wall passage.
The passage requires extra attention. A flue through the roof usually provides the best draft but requires a watertight roof passage. A wall passage is sometimes simpler, though there are rules about height and distance to windows and property lines. Choose what suits your home and roof.
Don't forget the practical connections. A pellet stove needs a power outlet, and a good air supply keeps combustion stable. In well-insulated homes, combustion air is often drawn directly from outside. Always maintain the prescribed distance from combustible materials.
Regulations for pellet stoves vary by region and municipality in Belgium, and by municipality in the Netherlands. A permit is not always required, but don't assume. Check the permit for a pellet stove in Belgium and ask your municipality about local regulations. In Belgium, NBN standards also apply to the flue.
Costs also vary, depending on the unit, flue, and passage. A longer path or roof passage increases installation costs. View an estimate of the price to install a pellet stove so you can realistically budget.
Document your installation thoroughly. An installation or inspection certificate and later a cleaning certificate prove the installation was done correctly. In case of damage or fire, your insurer often requests these documents. Keep them with the stove's manual.
If you're unsure about the location, flue, or inspection of your installation, request a quote or advice and install your pellet stove with peace of mind.
We are happy to help. Contact us without obligation.
In many cases, you can install a pellet stove yourself, but you remain responsible for safe installation and a correct flue. It's best to hire a professional for connection and inspection. Also, check your municipality's and insurer's requirements.
A pellet stove typically requires a double-walled flue with the diameter specified on the nameplate. The path runs through the roof or along the wall, with minimal bends. The correct diameter and draft are crucial for safe exhaust.
Yes, a pellet stove needs a power outlet for electronics, the pellet auger, and the fan. Ensure a connection is within reach of the chosen location. Without power, the stove won't start or operate.
Installing a pellet stove usually takes half to a full workday, depending on the flue. A roof passage or long path requires more time. An existing, suitable chimney speeds up installation.