
Certified flue systems
We supply CE-marked, twin wall flue systems perfectly matched to your stove. This ensures your installation complies with manufacturer and insurance guidelines.
Have a pellet stove installed with the utmost care? Get a quote in 5 steps.
Have a pellet stove installed with the utmost care? Get a quote in 5 steps.
Have a pellet stove installed with the utmost care? Get a quote in 5 steps.

 Written by Dries Nijs4 min read
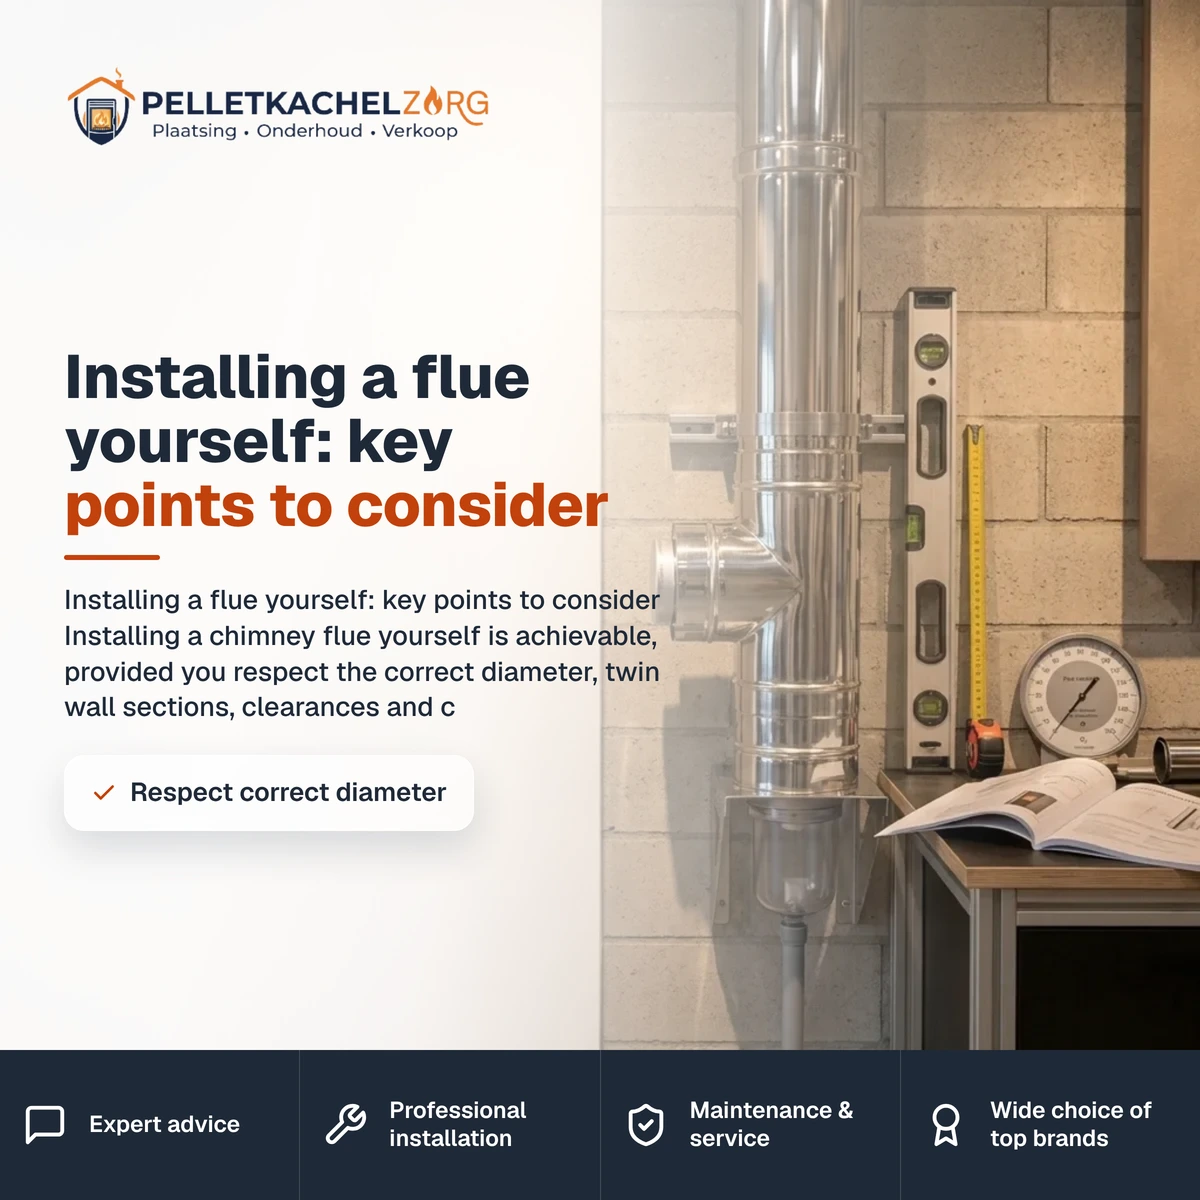
Installing a chimney flue yourself is achievable, provided you respect the correct diameter, twin wall sections, clearances and condensate drainage. Pay furthermore attention to a certified wall penetration, minimal bends and the correct terminal height. When in doubt, have your installation inspected.
Safe installation revolves around details, not speed.
If you fit a chimney flue yourself, focus above all on the correct diameter, twin wall sections where needed, sufficient clearance to combustible materials and a certified penetration kit. Furthermore, this requires a condensate drain with a T-piece, minimal bends for proper draught and adequate terminal height.
These points together determine whether your flue operates safely and efficiently. An error in any of these areas leads to poor draught, condensation damage or, at worst, fire risk. Below you will find all key points in detail, including a comparison, step-by-step guide and checklist. You will also learn where the boundary lies between DIY and calling a professional.
A flue system is only safe when every single component is certified and installed correctly.
Certified flue systems
We supply CE-marked, twin wall flue systems perfectly matched to your stove. This ensures your installation complies with manufacturer and insurance guidelines.
Optimal draught and extraction
We calculate flue diameter, chimney height and bends to guarantee stable draught. Proper condensate drainage and terminal location are included as standard.
Expert guidance or final check
Unsure about your own installation? We offer professional safety checks. You can rest assured that penetrations and clearances fully meet safety standards.
Determine the route and measure from stove to outside, using as few bends as possible and aiming for an accessible terminal position.
Choose the diameter specified in your stove's manual and stick to it strictly.
Select single wall pipe for indoors and twin wall insulated pipe as soon as the flue passes through unheated spaces or goes outdoors.
Install a T-piece with a soot trap cap at the bottom to properly catch moisture and soot.
Finish every wall or roof penetration with a certified fire stop sleeve, respecting all required clearance distances.
Secure all sections with wall brackets and locking bands, verify the termination height, and test the draw.
The flue termination requires special attention. A flue that ends too low above the roof line or too close to the ridge can suffer from poor draw or wind downdraughts. Always maintain the height prescribed by regulations and the manufacturer, checking that no nearby roof pitch, wall, or tree interferes with the airflow.
Diameter matches the stove manufacturer's requirements
Twin wall insulated pipe installed where the flue cools down or runs outside
Distance to combustible materials respected at every passage
Fire stop penetration kit fitted through walls or roofs
T-piece with soot trap cap fitted at the lowest point
As few bends as possible, with every offset remaining accessible
Termination high enough above the roof and eaves
All sections securely anchored and sealed airtight
The diameter is the starting point for your installation. You must follow the exact size specified by the stove manufacturer, as it is tailored to flue gas volume and draft requirements. A pellet stove usually requires 80 mm, while a wood burning stove typically uses 130 to 150 mm. Reducing or enlarging the flue diameter disrupts draft and voids your warranty.
Prepare a complete parts list before starting the fitting process. This prevents discovering halfway through that you are missing an elbow, bracket, or storm collar. An overview of what parts you need for a flue installation helps you order everything in one go.
Clearance to combustible materials is one of the most critical safety aspects. Every manufacturer specifies a minimum clearance distance, which applies to any passage near timber, plasterboard, or insulation. Learn more about the required distance to combustible materials for stove pipes before drilling any holes.
A condensation drain is an essential component, especially for pellet stoves. Flue gases cool down as they rise, creating condensation that drains to the lowest point. A T-piece with a drain collector collects this moisture, protecting your walls and masonry. Without it, moisture causes metal corrosion and unsightly wall staining.
Fitting twin wall flue pipes correctly requires precision. All components must connect in the right direction and seal airtight. Want to learn how to assemble twin wall flue pipes, check our detailed step by step guide.
Building regulations and local council guidelines dictate flue installation standards. In Belgium, NBN standards apply, alongside regional and home insurance requirements. In the UK and Ireland, Building Regulations (such as Document J) and manufacturer specifications must be followed.
Always treat the installation manual for both stove and flue system as legally binding, as it specifies exact clearances and technical requirements. Your insurer may request proof of correct installation following a claim, so keep all receipts and manual documentation. A certified system with proper installation protects both your home and your warranty.
Most installation issues stem from common oversights, such as reduced pipe diameters or missing condensation traps. Reading about common flue installation mistakes shows you exactly what to pay attention to.
If you are unsure about wall passages, proper draft, or clearances, it is safer to stop. When a flue needs to pass through a roof, ceiling, or complex building structure, safety always comes first. Read our advice on when to stop and call a professional installer to avoid compromising safety or invalidating your warranty.
To guarantee that your flue system is safe and fully compliant, have it inspected or installed by a professional hearth specialist. Request a free quote or advice today to get expert assistance.
We are happy to help. Contact us without obligation.
In many cases you can fit a chimney flue yourself, but you remain responsible for a safe installation. Always check local building regulations and home insurance policies, and strictly follow stove and flue manual instructions. When in doubt about wall penetrations or safety clearances, hire a qualified installer.
The diameter must match the stove manufacturer specifications exactly, do not deviate from this rule. A pellet stove typically requires 80 mm, while a wood burning stove usually needs 130 to 150 mm. Reducing or increasing the diameter disrupts chimney draught and is not permitted.
Yes, pellet stoves in particular generate condensation that must drain away via a T-piece with a condensate cap. Without drainage, moisture collects at the lowest point, corroding metalwork, joints and walls. Plan your condensate collection right from the start.
The fewer bends you use, the better your chimney draught, so keep offsets to an absolute minimum. Avoid sharp 90-degree elbows and choose two 45-degree bends instead where possible. Every necessary bend must remain accessible via an inspection hatch or T-piece.